Rebuilding an old gun buried underground for 7 years

Stay Sharp

Very Active Member
Oct 6, 2015
808
146
WI


Fast forward and all the corners are finished..


The sanding left a radius at the base of the grip.


Stay Sharp

Very Active Member
Oct 6, 2015
808
146
WI
Time to break out the chisel again.


And more sanding to finish with a clean and sharp line,.


Stay Sharp

Very Active Member
Oct 6, 2015
808
146
WI
The original gun most likely had only a black butt plate. While that’s fine and all, I hoped to dress it up a bit more so I cut up one of my flexible cutting boards and the divider out of a three ring binder to add a bit more style. (nothing but the best for this job. plus the guy in the cube next to me will never know those dividers are missing)


I think it adds a bit of class to the look without adding any cost.


Stay Sharp

Very Active Member
Oct 6, 2015
808
146
WI
The step that I failed to show was rounding the bottom of the grip. This stock wont have a flat grip nor a plastic grip cap so I rounded it off. You can see that rounding in the pic above.

The next steps are to point and flute the top of the comb near the grip and to do lots of final sanding all the way to 800 grit.

Pointing and fluting the comb of the stock was where I left off.


I used a rat tail rasp and then a length of electrical conduit with sandpaper wrapped around it to remove the wood for the flute.


Stay Sharp

Very Active Member
Oct 6, 2015
808
146
WI
Then the entire stock was then final sanded from 180 to 600 grit and the first application of tung oil was applied. 7 more applications to go.


After 7 coats of tung oil on the fore grip I gave it a rub down with 0000 steel wool and then thought I would embellish the underbelly a bit so I got out the gold metallic and black, oil based sharpie paint pens and had a go at it. A few more coats of tung oil over the top of the paint will seal it in real nice.


Stay Sharp

Very Active Member
Oct 6, 2015
808
146
WI
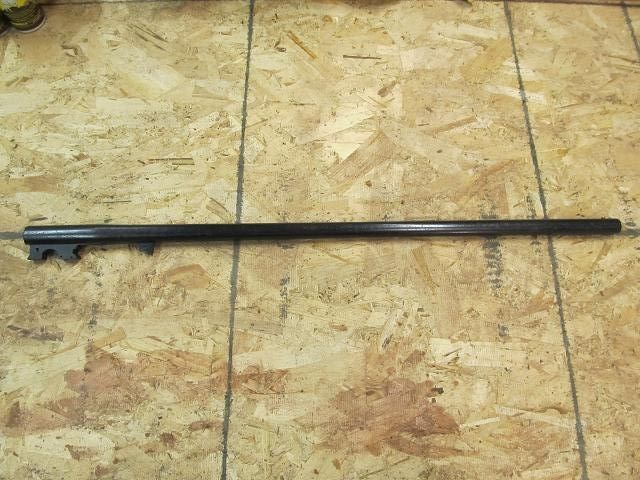
I took it outside and shot a very brief video of the finish so far.

[video=youtube;8gQO4gfLhjk]http://www.youtube.com/watch?v=8gQO4gfLhjk&feature=youtu.be[/video]

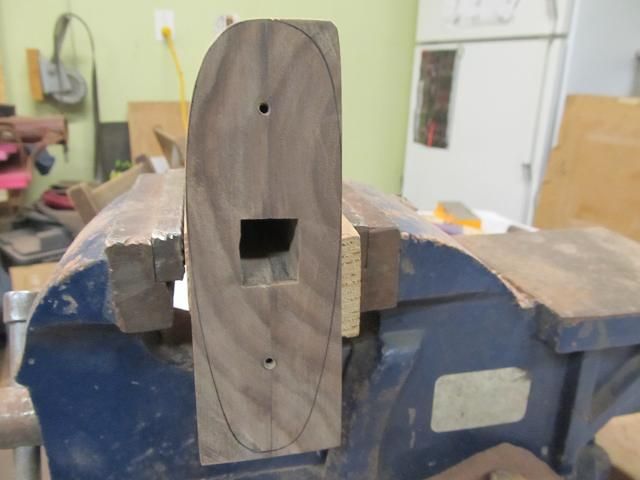
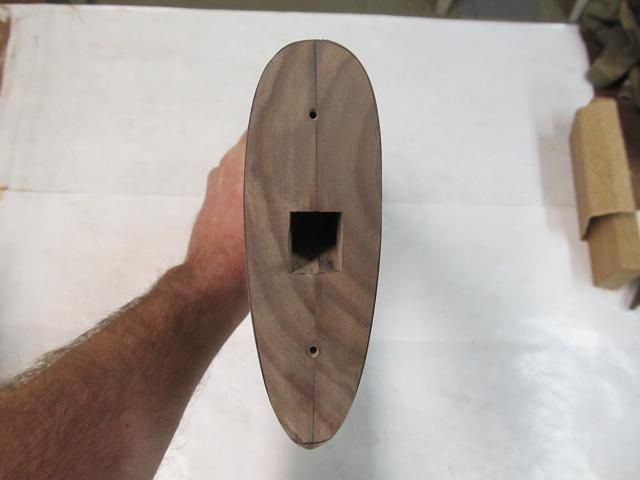
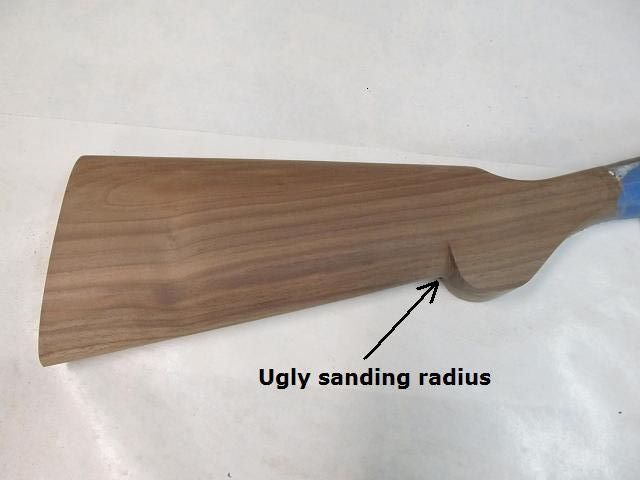
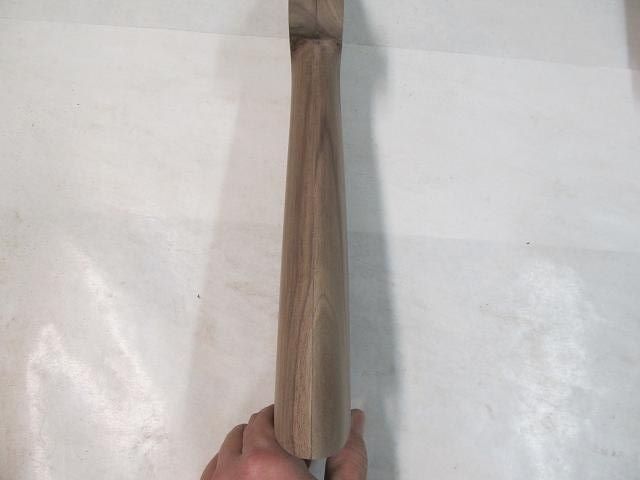
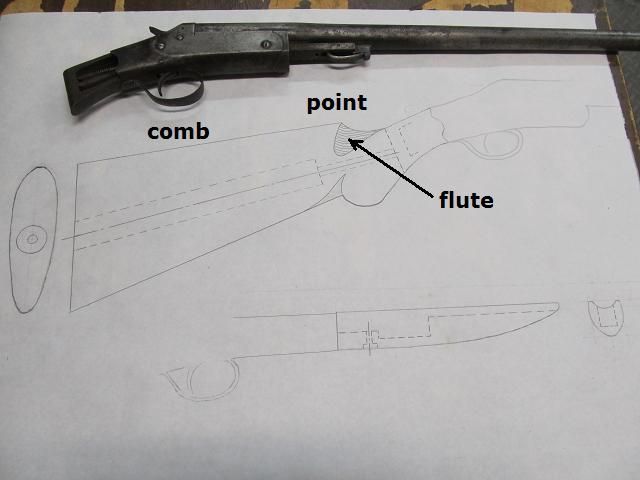
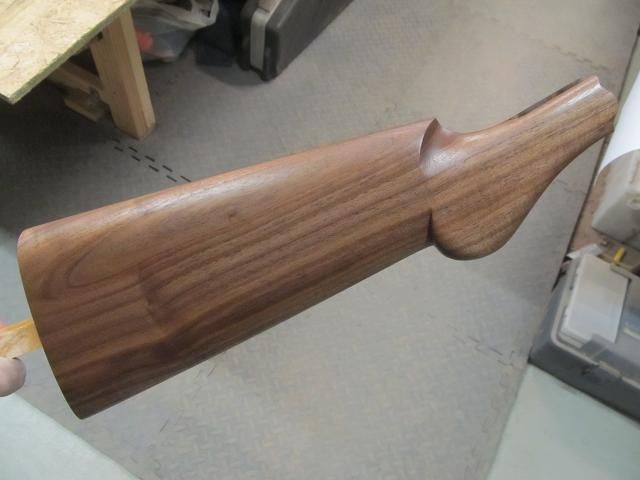
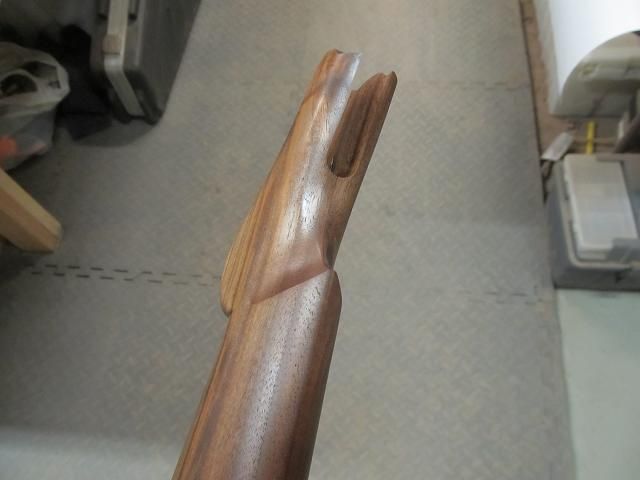
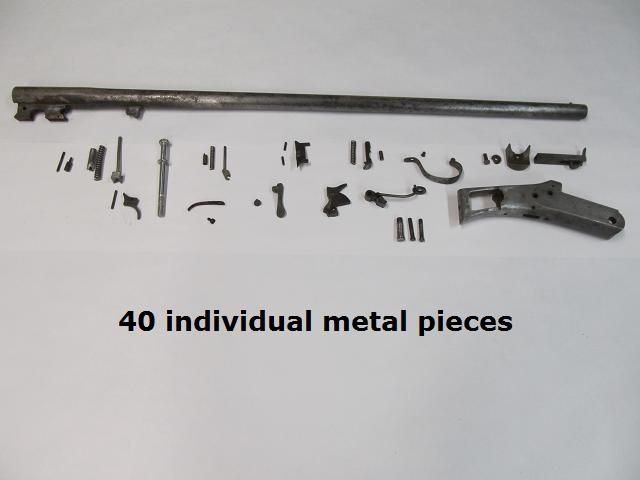
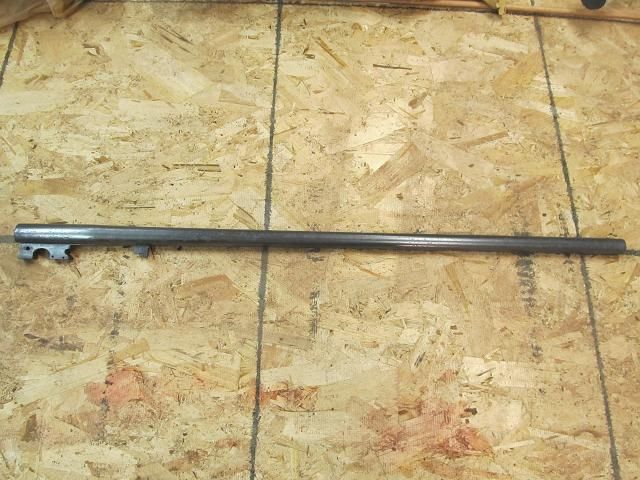
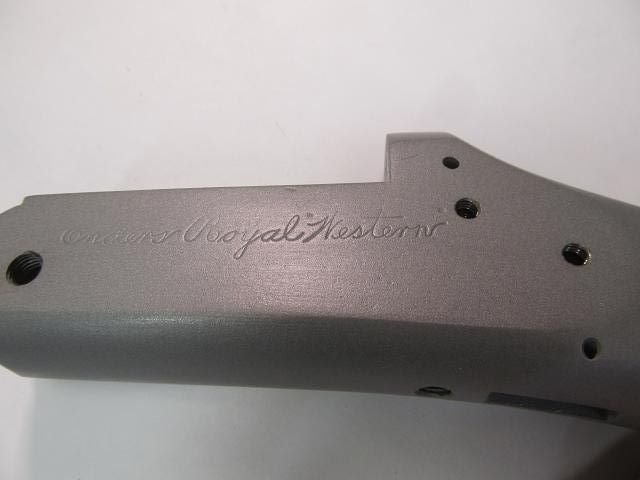
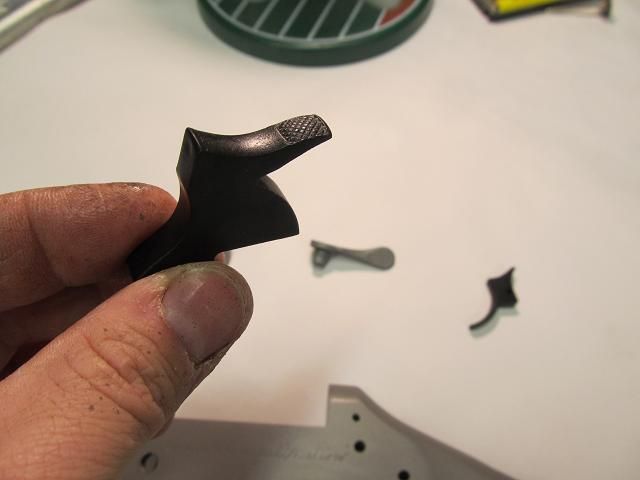
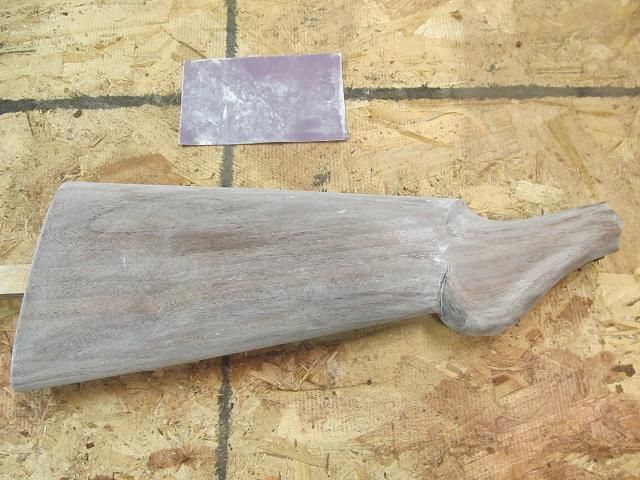
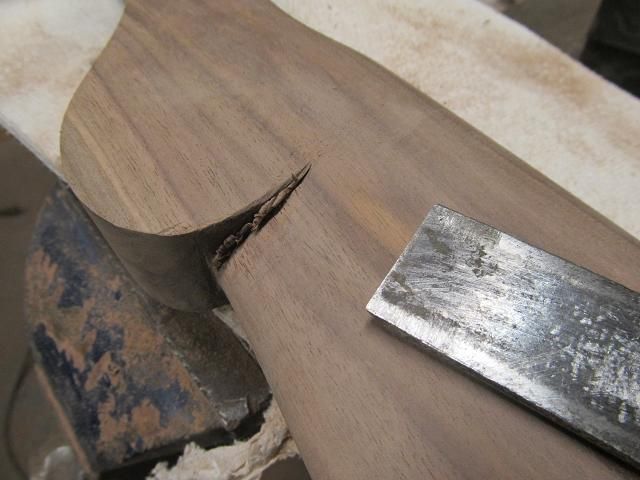
I am almost to the point where I can check “making a gun stock” off the list of things I have always wanted to try doing.

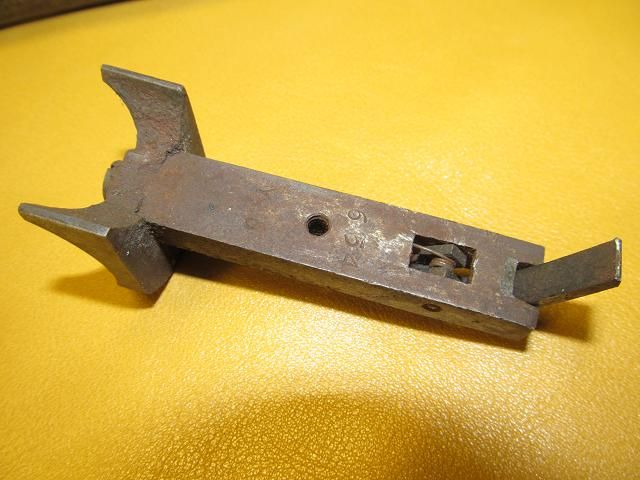
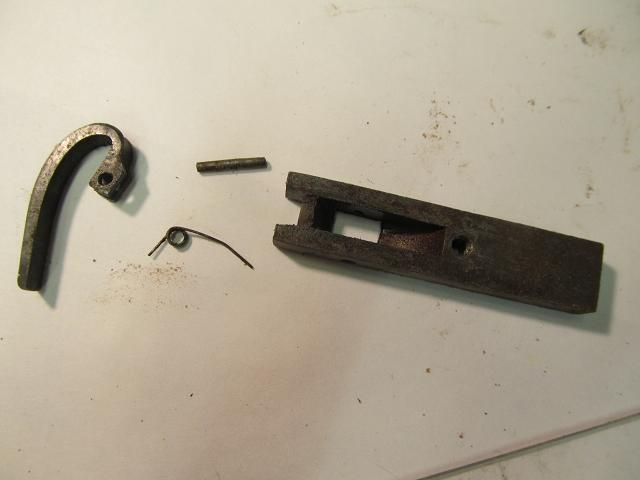
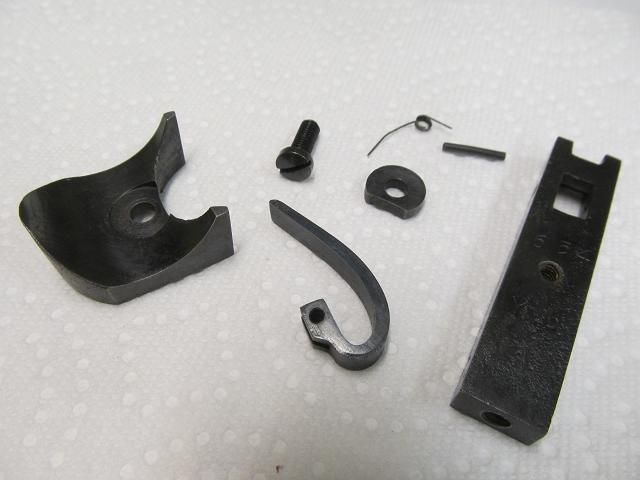
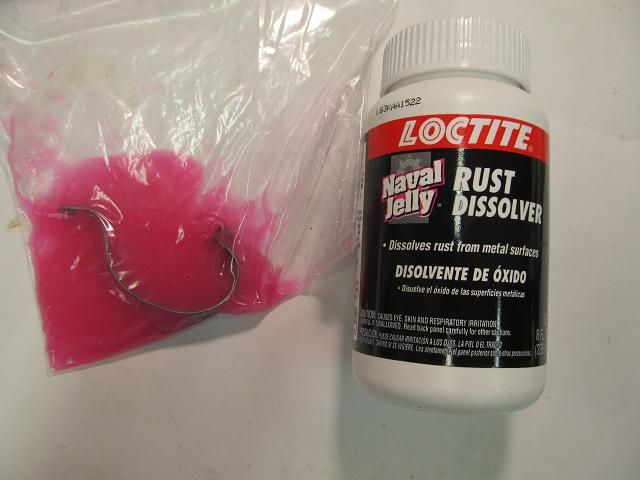
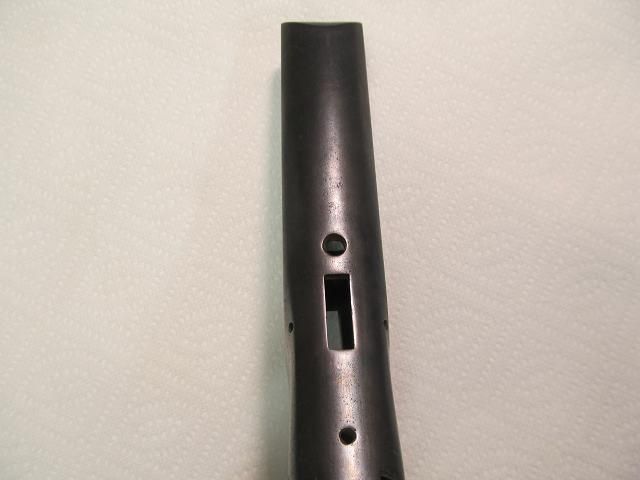
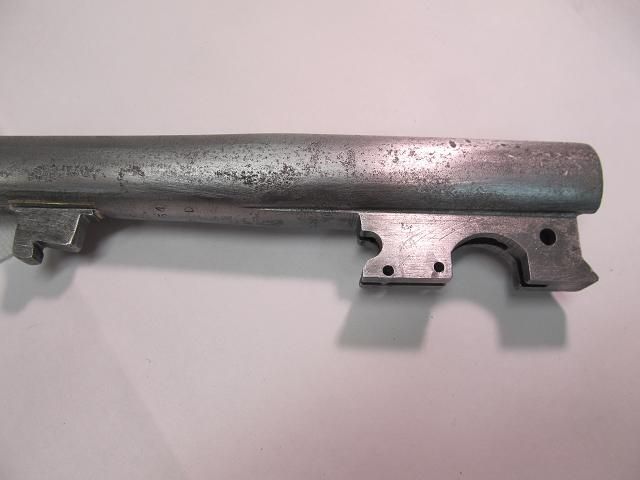
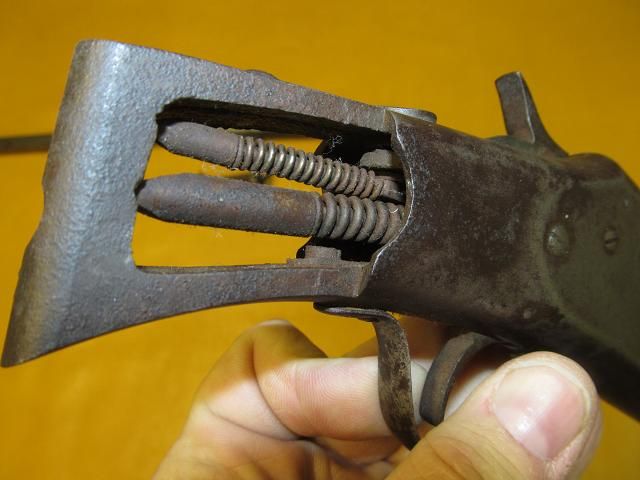
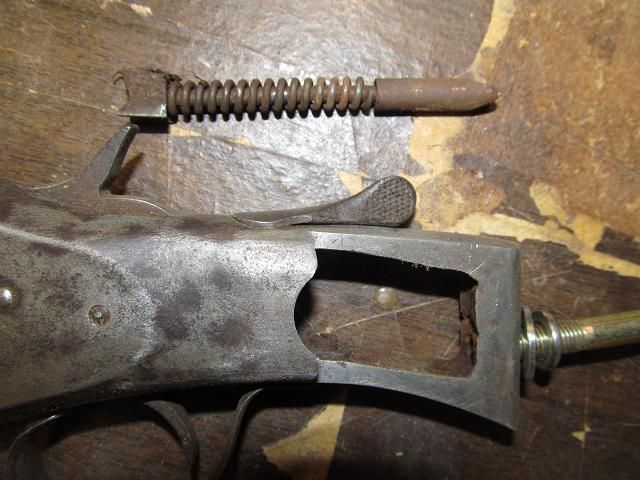
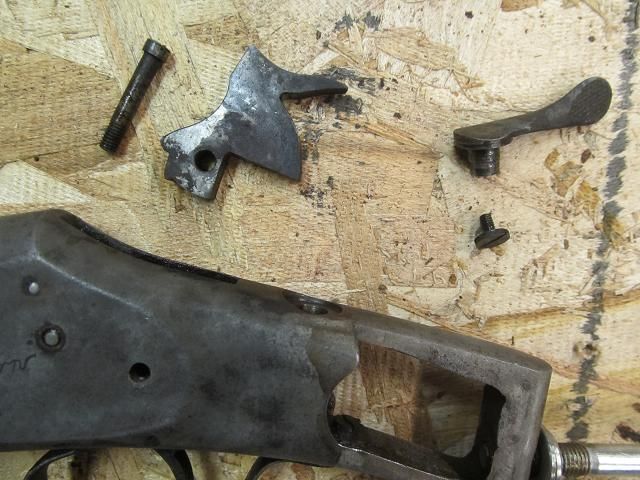
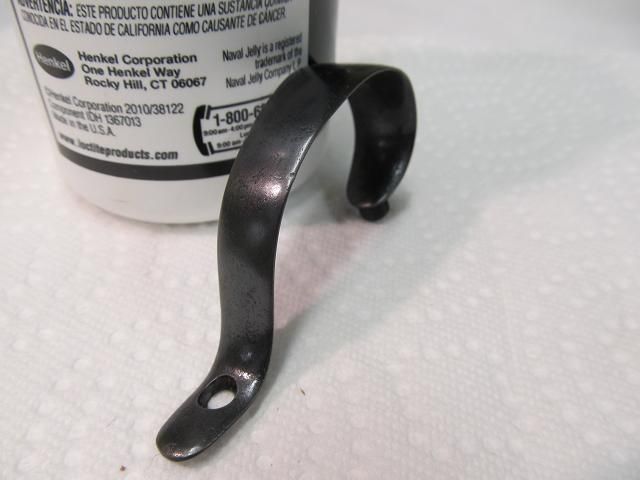
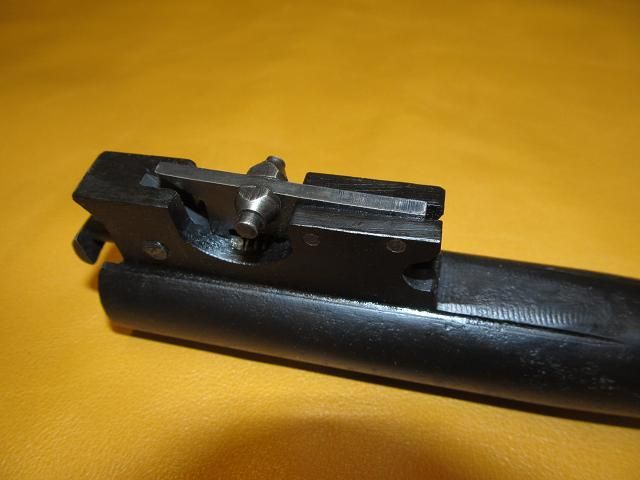
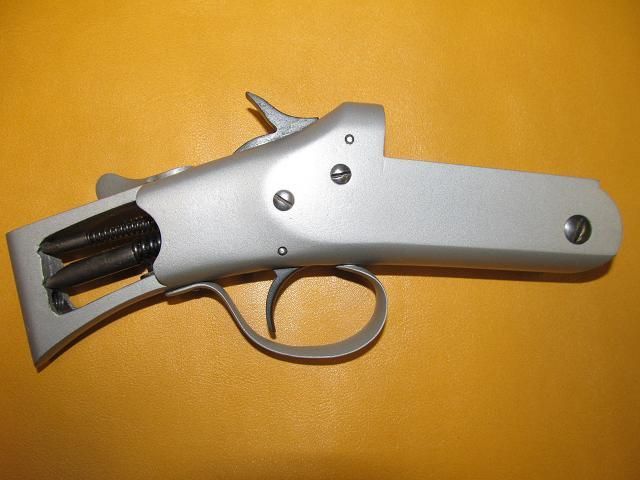
When I tried to disassemble the metal parts of the rusty old gun I was unable to turn the three screws that hold major components. I was bending the tips of screwdrivers and at least one screw slot was showing damage from attempts to break it free. I didn’t want to apply heat to such an old weapon and sure as hell didn’t want to snap the head off the screws with an impact driver. What to do?.............. Google it.

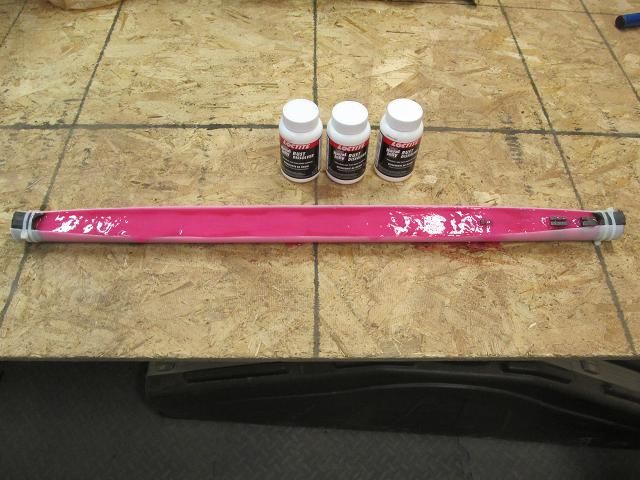
Penetrating oil was the likely solution but in searching for the best performing product I came across a recipe I had not heard of but Im given to understand its no secret to mechanics and gun smiths.

It calls for equal parts Automatic transmission fluid and Acetone. Should you encounter corroded screws or bolts and find yourself in need of penetrating fluid I can highly recommend this concoction. I found this blurb online.

Machinist’s Workshop magazine tested penetrants for break out torque on rusted nuts.

They arranged a test of all the popular penetrants with the control being the torque required to remove the nut from a “scientifically rusted” environment.

Penetrating oil ….. Average "break free" load
None …………………........ 516 pounds
WD-40 ………………........ 238 pounds
PB Blaster …………........ 214 pounds
Liquid Wrench ……...... 127 pounds
Kano Kroil …………....…. 106 pounds
ATF-Acetone mix…....….53 pounds
.
The ATF-Acetone mix was a “home brew” mix of equal parts automatic transmission fluid and acetone.

Note the “home brew” was better than any commercial product at unseizing rusted fasteners and not just by a little. It really out performed any other product on the market.. Its much less expensive than specialty oils as well. A quart of ATF is less than $4 and a quart of acetone costs about $6.

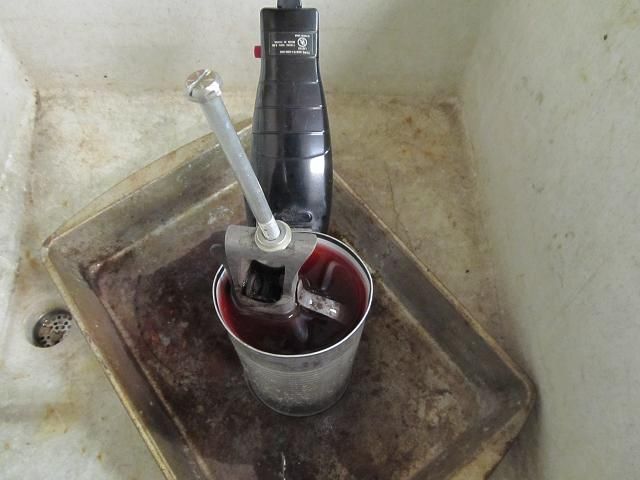
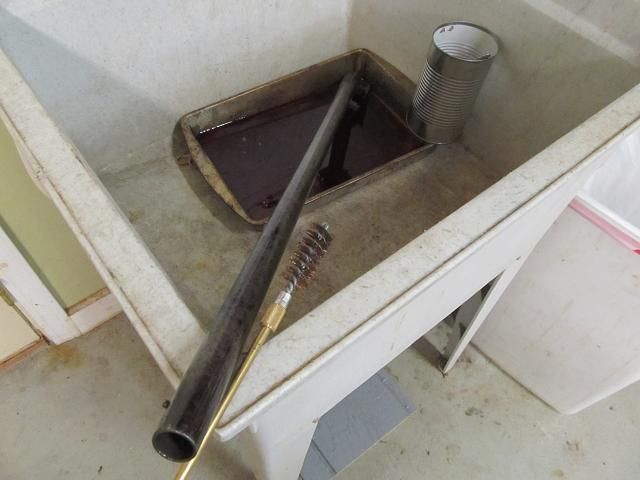
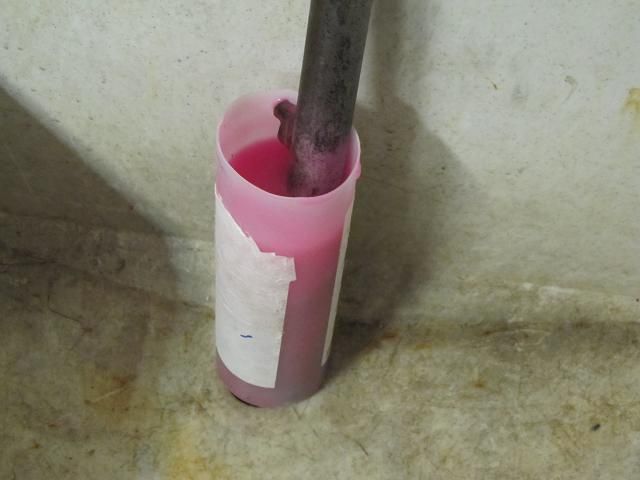
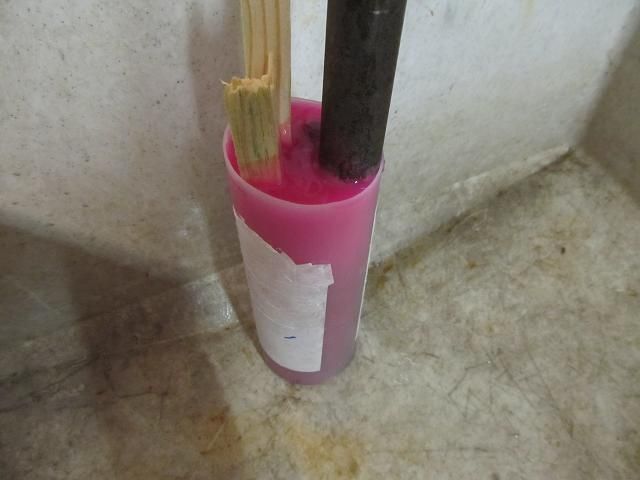
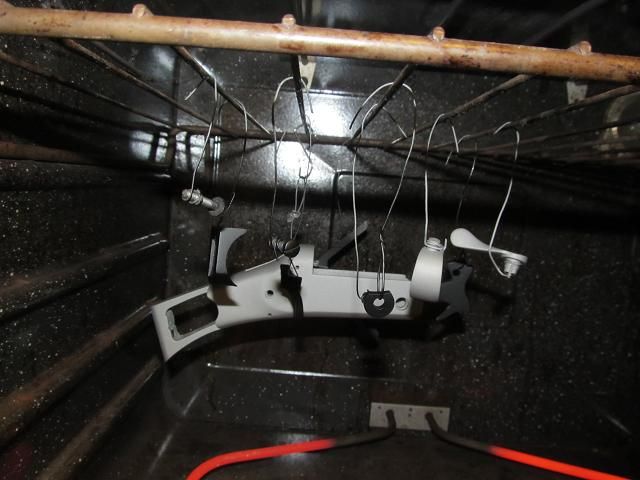
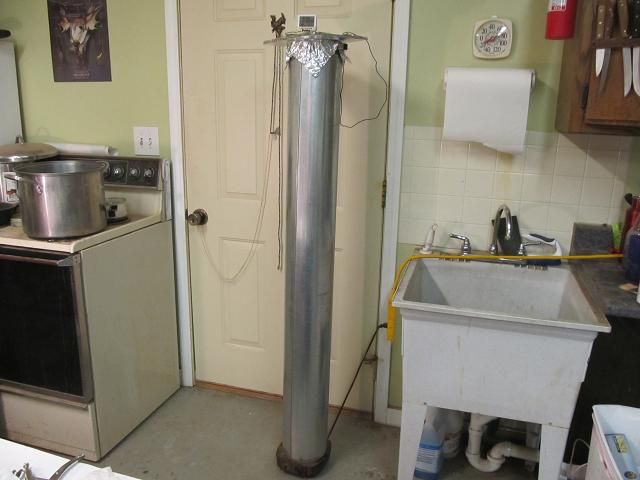
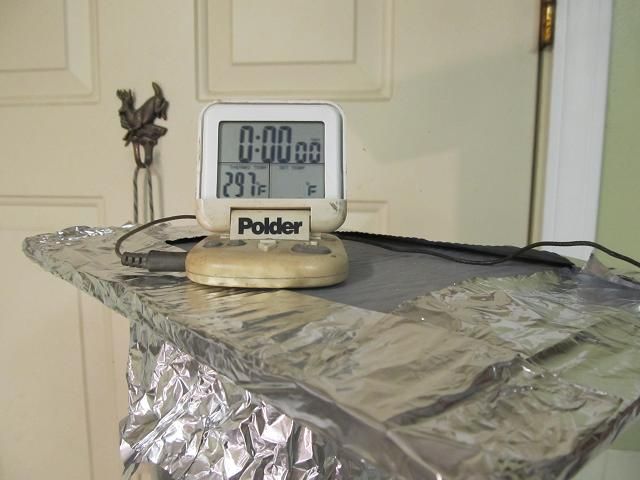
I hoped to speed the penetrating action by submerging the entire receiver in the mixture and then vibrating it with an ultrasonic cleaner/bath. The only problem is, I don’t have an ultrasonic parts cleaner.

What I do have is an old Oster hair trimmer and an empty bean can.


Stay Sharp

Very Active Member
Oct 6, 2015
808
146
WI
If you are concerned about mixing the highly flammable Acetone fumes and electricity, you can run this device on your neighbor's patio while he is at work. (safety first). Here is a short video of this engineering marvel at work.

[video=youtube;xqlZ48PRSGw]http://www.youtube.com/watch?v=xqlZ48PRSGw[/video]

I let the receiver soak in the solution for 24 hours then wiped the entire assembly dry. The seized screws and pins were removed with normal hand held screwdriver torque with no damage to the parts. The fluid had soaked the threads the entire depth of the parts. Im impressed by this simple mixture of fluids and will store that trick for future uses.

Now the shotgun is reduced to 40 rusty parts.


All the parts are bagged with labels telling me what they are for. I photographed every step of disassembly. I don’t want parts (some are very close in appearance to one another) to get mixed up. As I restore them they will be rebagged until such time as I reassemble the shotgun.


Now the fun begins. I can replace nostrils full of powdered walnut with powdered iron and steel.


Stay Sharp

Very Active Member
Oct 6, 2015
808
146
WI
Im starting with the spring mechanism for the fore grip since the fore grip finish is nearly complete. This assembly is made up of 7 parts, all of which are pretty corroded. This assembly also spent time in the ATF and Acetone solution so I could take it apart.

Here it is right off the gun as I received it.


Then Disassembled


I screwed up here and failed to take a pic of the metal parts after cleaning and before bluing but here are the parts after bluing.


Stay Sharp

Very Active Member
Oct 6, 2015
808
146
WI
The S.O.P. for the parts is as follows.

Disassemble
Manually descale (Dremmel, sandpaper, files, steel wool, etc) to get rid of as much surface rust as possible
Acetone bath with tooth brush (to degrease)
Chemical rust remover (30 minutes or longer on really corroded parts)
Water rinse and dry
Manual rust removal of any spots missed
400 grit sanding, Steel wool and polish
Acetone bath
Dicropan cold bluing
0000 steel wool
Acetone bath
Dicropan cold bluing
0000 steel wool
Acetone bath
Dicropan cold bluing
0000 steel wool
Light oil
Bagged and tagged

The triple bluing and steel wool seems to give it good color and protection and shine.

All these parts are rusted and pitted so badly that it is not possible to remove all the pitting as it would dimensionaly change the parts or compromise them. While the pitting remains, the chemical rust remover does a good job of removing the rust and the small metal brush of the Dremmel gets into all the pits.

Many of these parts will need to be degreased again before I apply the baking lacquer ( protective coating) but for now they all get thrice blued and oiled.

Here is the fore grip spring mechanism reassembled after blue and oil. Not picture perfect but corrosion protected and functional. It will be disassembled again for the baking lacquer.


I did a better job with the pictures on the Trigger and trigger guard. Im not going to show all 40 pieces being restored as that would only slow down the whole process and there are a lot more parts to deal with but you get the idea. Its going to be a tedious process.


Stay Sharp

Very Active Member
Oct 6, 2015
808
146
WI
Larger parts like the receiver and barrel wont fit in a Ziploc bag of rust remover so I will have to address them differently when I get to that point.

With all the small parts finished, I can move onto the receiver and barrel. I put naval jelly and the receiver in a gallon sized ziploc bag for 2 hours. Im impressed with its ability to remove all corrosion. Then it was the same regimen used on the small parts all the way up to polishing.

It cleaned up well but I did a lot of extra polishing work.


Here is a short video of how it looks just prior to cold bluing.

[video=youtube;Vmsw8HPVLDs]http://www.youtube.com/watch?v=Vmsw8HPVLDs[/video]

Here it is after being cold blued 3 times.


Stay Sharp

Very Active Member
Oct 6, 2015
808
146
WI
The receiver will be coated with Brownells baking lacquer colored stainless steel grey to mimic the metallic look the gun had originally.

Then it was onto the barrel. Earlier in the process while I had the ATF and Acetone solution in use, I soaked the barrel in order to remove the attached parts. I also used the solution in the bore with a copper brush. What came out of the bore looked like crude oil. I worked that brush through the barrel many many times.


While working the receiver I soaked one end of the barrel in the naval jelly. My container was too large (or I didn’t have enough naval jelly) so I threw some wood strips in to raise the level of the jelly. After 2 hours I pulled it out and rinsed it under hot water and dried it and only gave it a brushing with a stiff stainless steel bristled brush and then steel wool to remove the powdery grey surface created by the naval jelly.


Stay Sharp

Very Active Member
Oct 6, 2015
808
146
WI
The effects are pretty noticeable. Here is a video showing how well it worked.

[video=youtube;zihls1wf3so]http://www.youtube.com/watch?v=zihls1wf3so[/video]

After 6 years, (and lots of projects) my Dremmel tool died. Off to the store for another.


While I was out buying another Dremmel tool I picked up two more containers of naval jelly so I could remove the rust from the entire barrel. I cut in half a plastic tube that paper comes on for our plotter at work. This tube bathtub worked pretty well once I plugged the ends with foam and tywraps.


After 2 hours I pulled it out and rinsed it under hot water and dried it. Here it is with the powdery grey film left by the naval jelly.


Then the wire brush and steel wool treatment.


Stay Sharp

Very Active Member
Oct 6, 2015
808
146
WI
After 3 applications of Dicropan cold blue.


The next step is applying the Brownells baking lacquer.
 

Stay Sharp

Very Active Member
Oct 6, 2015
808
146
WI
Next, I did all the baking lacquer parts. If you haven’t tried this stuff yet, it great. Ive done other guns with it. It easy to use and durable. Certain parts (in keeping with the original look of the shotgun) would be black while others would have a metallic appearance. I preheated the oven to 300 and got to spraying the parts with 3 light coats. Here they are baking for ½ hour.


The 30 inch barrel of course would not fit in my oven so I had to improvise and build at tall skinny oven just for the barrel. I used an electric hot plate, some stove pipe, plywood, tin foil, and a wire hanger.


I let that engineering marvel preheat while I took a diamond tool mounted in my Dremmel to the barrel to add a marking that was missing.


The barrel also cooked for 30 minutes.


Stay Sharp

Very Active Member
Oct 6, 2015
808
146
WI
Here are some of the small parts after they cooled and after I ran a tap through all the holes to clean up the threads from the over spray.


Stay Sharp

Very Active Member
Oct 6, 2015
808
146
WI
I am ready to begin assembling all the parts into a gun. Im making progress on the butt stock as well. After several coats during this week, I took after it with 600 grit sandpaper and gave it another of many applications of tung oil.


We are in the home stretch now.

When I began this project I took dozens upon dozens of photos during the disassembly process to aid me in reassembling the gun since I knew there was going to be a good deal of time before I would be putting the pieces back together and I wouldnt remember how to do it. I took pictures of the parts in their assembled state to see how they interfaced with one another like this.


Then as I removed the parts I took pictures of the orientation so I could reverse the process later on like this.


Stay Sharp

Very Active Member
Oct 6, 2015
808
146
WI
Despite my best efforts I still managed to mess up the reassembly. On more than one occasion I failed to pay close enough attention to my photos and tried to put it back together incorrectly. Perhaps I was in too great a hurry. Once I slowed down and really studied the pictures and put things back not only in the proper orientation but in the right sequence (some parts had to be assembled before others) then it all came together quite well. At this point all the metal parts are reassembled. Here are a few before and after pics.

These two springs proved to be the most difficult to compress and reassemble. I can envision the custom tool they no doubt used in mass production. I spent the most time coming up with a way to reinstall these springs without marring the finish on the receiver.

Before


After


Before


After