Colorado Cowboy
Super Moderator
I bought my trailer used for $3500.00. Altogether I have less than $6,000 in it.

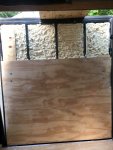
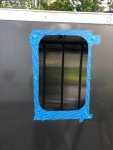
Only cost $13 in foam. I have some of the closed cell 2part but my thinking is that its too heavy for the door. Because I'll end up caulking it, it'll seal airtight anyway.That must have cost a fortune in spray foam.
Did you look into using the closed cell stull for the walls and spray foam the edges to get airtight?
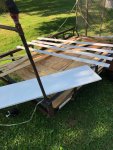

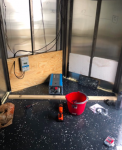
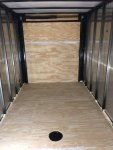
That Epoxy turned out pretty darn good.Got the second coat of kilz on the floor, door and trim pieces. Taped up and ready for epoxy-
View attachment 27847
View attachment 27848
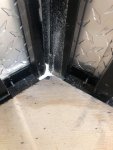
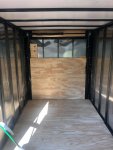
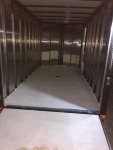
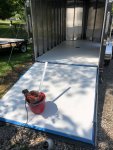
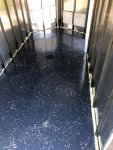
Next, the epoxy floor from SuperCoat went down. Pretty easy application. Don't get this stuff anywhere you don't want it forever. Mineral Spirits seem to remove most of what I didn't want covered. Finished product looks pretty good. You can still the seems where i the plywood meets but otherwise its smooth.
View attachment 27849
View attachment 27850
View attachment 27851

Thanks! I'm happy with it. I think it'll hold up pretty wellThat Epoxy turned out pretty darn good.